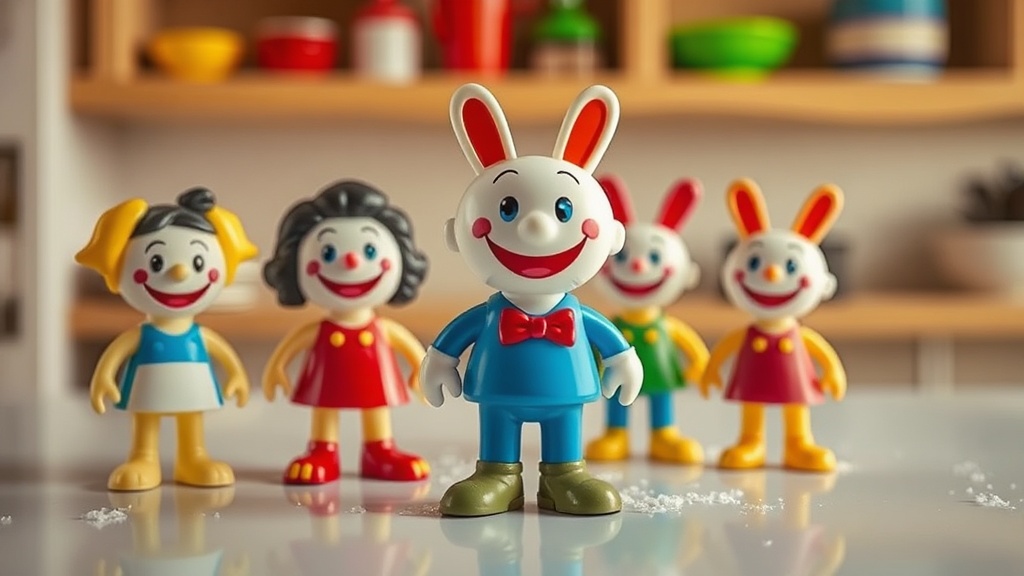
Cleaning Your Vintage Happy Meal Figures Safely

A collector pulls a 1995 Teenie Beanie Baby out of a storage bin, only to find a fine layer of gray dust and a sticky residue from decades of storage. They reach for a heavy-duty scrub brush and a bottle of industrial degreaser, thinking a deep clean is the way to go. Within minutes, the paint on the figure's eyes is scuffed, and the plastic looks dull and cloudy. This is the danger of improper maintenance.
This post explains how to clean vintage McDonald's Happy Meal figures without destroying their value. We'll look at the safest methods for removing dust, grime, and stains from different types of plastics and materials used in toys. If you want to keep your collection looking showroom-ready, you need to understand the chemistry of what you're handling.
How Do I Clean Plastic Happy Meal Toys?
The safest way to clean plastic toys is to use a mild solution of warm water and a few drops of pH-neutral dish soap. Most McDonald's toys from the 1980s through the early 2000s are made of high-density polyethylene (HDPE) or similar non-porous plastics that can handle a gentle wash. You should never use harsh chemicals or abrasive tools on these items.
Start by filling a small bowl with lukewarm water—not hot, as extreme temperatures can warp certain types of thin plastic. Add a tiny amount of a gentle dish soap like Dawn. Dip a soft microfiber cloth into the solution and wipe the figure down. If there is stubborn dirt in the crevices, use a soft-bristled toothbrush instead of a scrub brush. A toothbrush provides enough pressure to lift grime without scratching the surface.
After washing, rinse the figure with plain water to ensure no soap residue remains. This is important because dried soap can actually attract more dust over time. Pat the toy dry with a clean, lint-free cloth. Avoid using paper towels, as the wood fibers can occasionally leave microscopic scratches on softer plastics.
The Cleaning Hierarchy
Not all toys are created equal. A solid plastic figurine requires a different approach than a plush toy or a hollow figure. Use this list as a reference for your cleaning toolkit:
- Hard Plastic Figures (e.g., Teenie Beanie Babies, Disney figures): Mild soap and water; soft toothbrush for crevices.
- Soft Vinyl/PVC (e.g., certain 90s figurines): Very mild soap; avoid any contact with alcohol-based cleaners.
- Plush/Fabric (e.g., classic Beanie Babies): Surface vacuuming or gentle hand-washing (if the material allows).
- Painted Surfaces: Minimal moisture; avoid direct contact with any solvent.
It's a good idea to check the properties of polyethylene if you're dealing with very old, potentially brittle plastics. If the plastic feels "gummy" or sticky, it might be undergoing chemical degradation, often called "plasticizer migration." In these cases, heavy cleaning might actually make the problem worse.
Can I Use Rubbing Alcohol on Vintage Toys?
You should avoid using rubbing alcohol or any high-concentration isopropyl alcohol on vintage McDonald's toys because it can dissolve certain paints and degrade plastic. While alcohol is great for disinfecting, it is often too aggressive for the delicate paint applications found on 1990s-era collectibles. It can strip the finish off a figure, leaving it looking dull or even melting the surface of softer plastics.
If you are dealing with a "sticky" figure—a common issue with older plastics—alcohol might seem like a quick fix. It isn't. Instead, try a very diluted solution of water and a tiny bit of dish soap. If the stickiness persists, it's likely a sign of the material breaking down. At that point, cleaning won't help; the toy is simply aging. To prevent this, you should focus on protecting your plastic legacy from light and heat.
If you must use a disinfectant for hygiene reasons, use a specialized toy cleaner that is labeled as safe for children's toys. Always test a small, inconspicuous area first. If the color transfers to your cloth or the surface becomes cloudy, stop immediately.
How Do I Remove Stains from McDonald's Toys?
To remove stains, use a soft cloth dampened with water and a tiny amount of mild detergent, moving in a circular motion. Most stains on vintage toys are either surface dirt or "ink transfer" from being stored near other items. If the stain is embedded in the plastic, you'll need to be extremely careful to avoid scratching the surface.
Sometimes, collectors find "ink stains" on older figures. This often happens when toys are stored in bins together. If a stain won't come off with soap and water, do not reach for a magic eraser. Magic erasers are essentially very fine sandpaper and will strip the finish right off a collectible. Once that finish is gone, the value drops significantly.
| Method | Best For | Risk Level | Recommended Tool |
|---|---|---|---|
| Soap & Water | General Dust/Grime | Very Low | Microfiber Cloth |
| Soft Toothbrush | Crevices/Detailing | Low | Soft Bristles |
| Mild Solvent | Sticky Residue | Medium | Cotton Swab |
| Abrasive Scrubber | DO NOT USE | High | N/A |
If you're dealing with a high-value item, such as valuable 1990s Happy Meal toys, the stakes are much higher. A single mistake with a cleaning agent can turn a $100 item into a $5 item. When in doubt, less is more. A dry, soft brush is often better than a wet one.
One thing to keep in mind: humidity can be just as damaging as a bad cleaning method. If you clean a toy and then store it in a damp environment, you're asking for trouble. Ensure the toy is completely dry before putting it back in a display case or a plastic bin.
If you're dealing with a very old figure that feels brittle, you might want to consult a professional conservator, though that's rare for standard Happy Meal toys. For most of us, staying within the realm of soap, water, and patience is the way to go. It's better to have a slightly dusty toy than a ruined one.
Don't forget that the goal isn't perfection. A little bit of character or a tiny bit of "shelf wear" is part of the history of a vintage toy. If a cleaning method carries any risk of changing the texture or color, skip it. You're preserving a piece of history, not just a piece of plastic.
Steps
- 1
Assess the Material
- 2
Prepare a Gentle Solution
- 3
The Soft Brush Method
- 4
Drying and Finishing